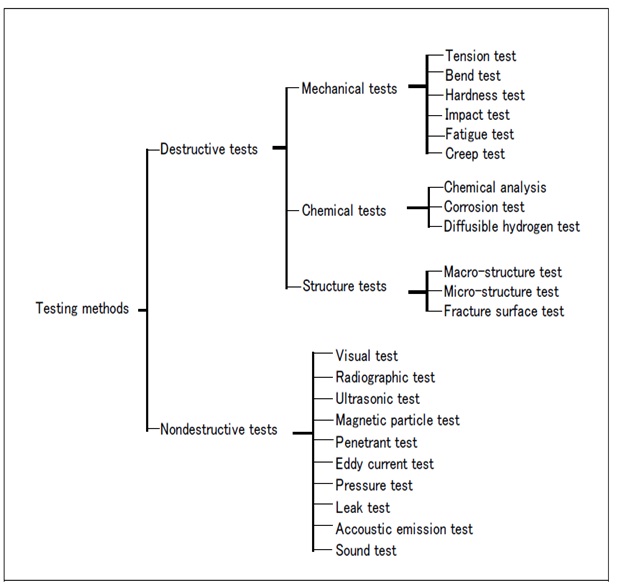
Non- destructive tests
In order to guaranty the quality of a welded structure, it is indispensable to know what welding defects may or may not exist in the welds. For this purpose, a welded structure could be examined by using a destructive test after fabrication; however, the tested structure becomes out of use if it is fractured by the test.
Therefore, destructive tests are conducted with test specimens, not with a product (except for the sampling test for small products).
Since finished products should never be fractured by a test, it is important to examine the soundness of the welds of the products without breaking them. For this purpose, nondestructive tests are conducted.
Non destructive test are as follow –
-
Visual test (VT)
A visual test is used to examine the appearance, width and thickness of a weld and the welding defects such as undercut, overlap, cracks, pits, and slag inclusions in the surfaces of a weld. It is also used to check whether the throat thickness is as thick as specified and the misalignment is within the allowance.
This test is simple, inexpensive, and is capable of examining many weld zones at one time. Therefore, it is commonly applied to all welds.


Leave a Comment